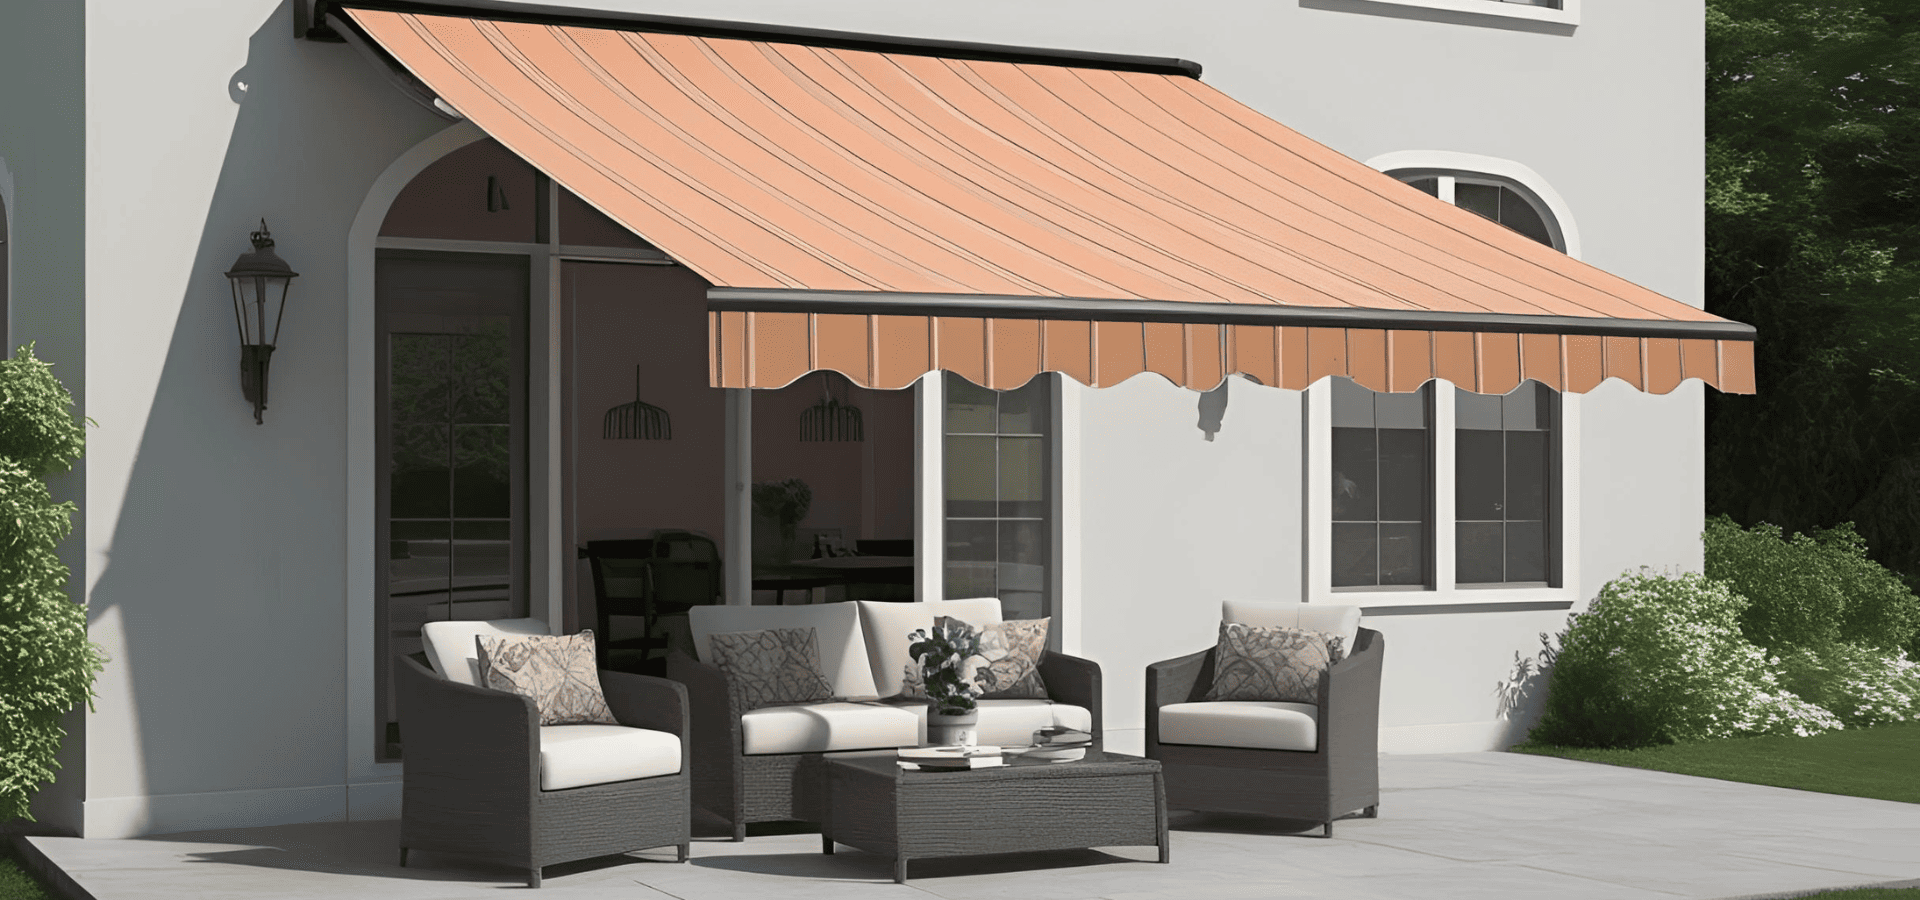
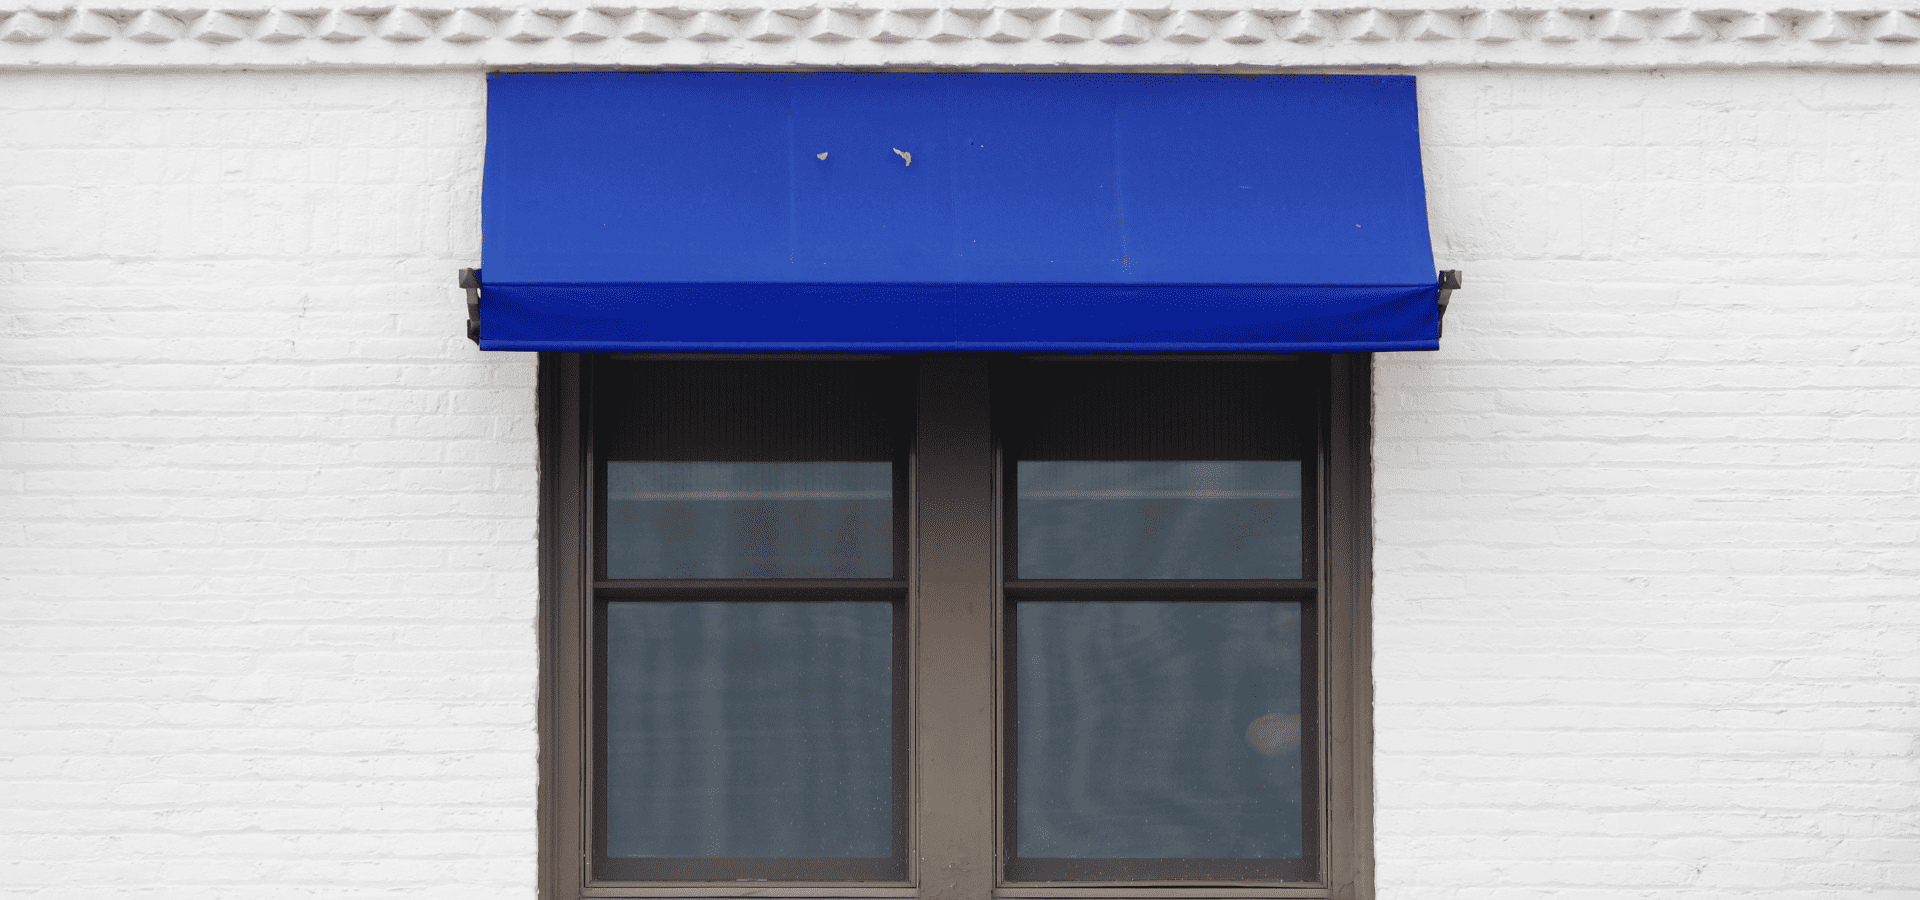
Window awnings typically serve very different purposes from regular awnings. With regular awnings, the main purpose is usually to provide shade and shelter from the sun and rain for people. Window awnings, on the other hand, are mainly meant to protect your indoor furnishings from UV rays and enhance your energy efficiency. As such, window awnings in general don't need to be as large as normal awnings and can be cheaper to install. Window awnings don't just serve practical purposes though. A lot of times, window awnings can add more aesthetic appeal than regular ones. The reason for this is that normal awnings are usually just treated as part of your roof, but window awnings tend to be quite noticeable and draw people’s attention well. If you're considering adding a window awning to your home or business, here's what you need to know. What Are Window Awnings? Window awnings are basically just awnings that are installed outside windows. Their purpose is to keep the sun from reaching your indoor furnishings, so they need to be positioned at an appropriate angle depending on their shape and size. Other than that, they're not much different from regular awnings, and the same range of materials and colours is available for use. Why Are Window Awnings Important? We already mentioned that window awnings are meant to protect your indoor furnishings from UV rays and regulate your temperature, but considering that many homes don't have window awnings, some might question their necessity. And indeed, window awnings aren't a strict necessity. But they are immensely helpful. Firstly, constant exposure to UV rays can cause fading and discoloration of your furniture, floor, and curtains. Window awnings prevent that from happening. Some would argue that you could just close the curtains, but that's not quite the same. By closing the curtains, you're blocking out most of the light, and your home then becomes dark and gloomy. Window awnings allow you to enjoy a brightly lit home without having to worry about UV damage. Furthermore, even if you are blocking the UV rays by closing your curtains, the rays still heat up your curtains, and your curtains then transfer that heat to your home. This brings us to our next point–energy efficiency. By blocking the sun out, a window awning helps reduce your cooling costs significantly. Studies by the Professional Awning Manufacturers Association (PAMA) show that awnings can reduce cooling costs by up to $250+ annually. The U.S. Department of Energy also notes that properly installed awnings can decrease heat absorption by 65-77%, depending on the window orientation. In addition, window awnings don’t just block out the sun, but rain too, so you can continue to keep your windows open during storms without worrying about the rain entering your house. This allows your house to remain airy and well-ventilated even during rainy weather, which is an important feature given Singapore’s humid climate. All things considered, window awnings aren’t a strict necessity, but they protect your indoor furnishings, enhance ventilation, and can help you significantly cut down on your cooling bills, all while not turning your home into a dark and gloomy place like curtains would. Plus, when done right, they’ll help your home stand out and boost its aesthetic appeal. Types Of Window Awnings Now, before we go into the awning materials, let’s go over the various types of window awnings available on the market. 1. Stationary Awnings
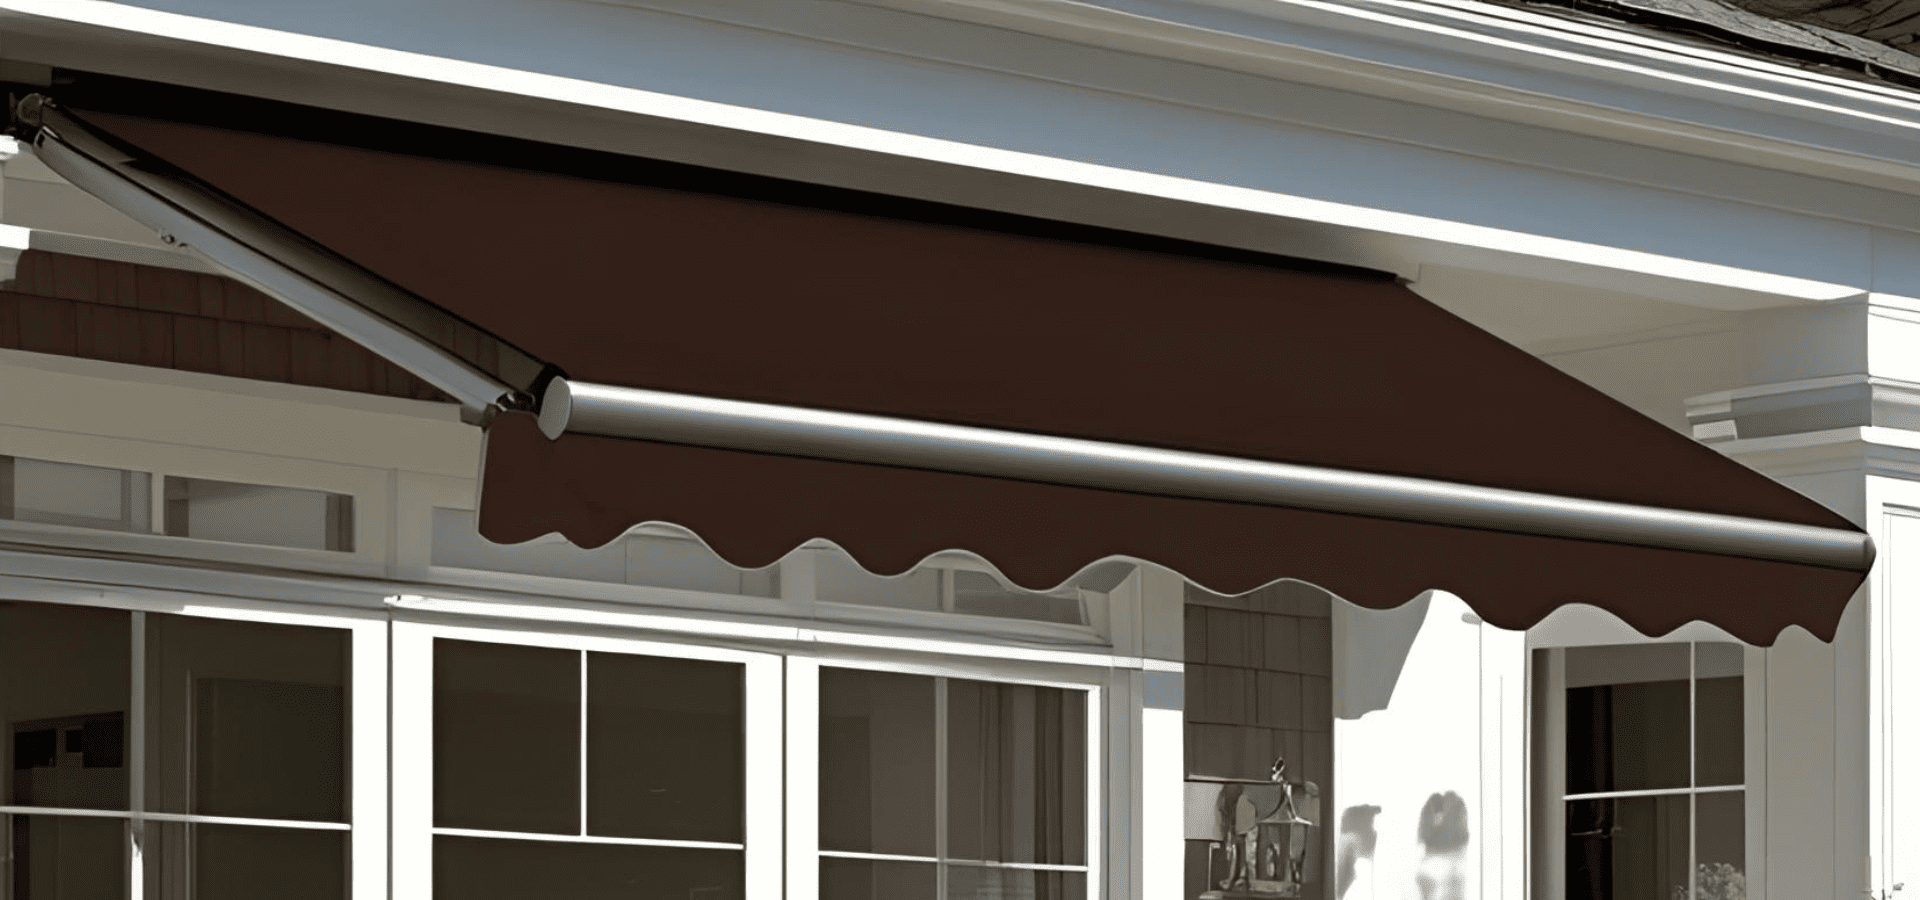
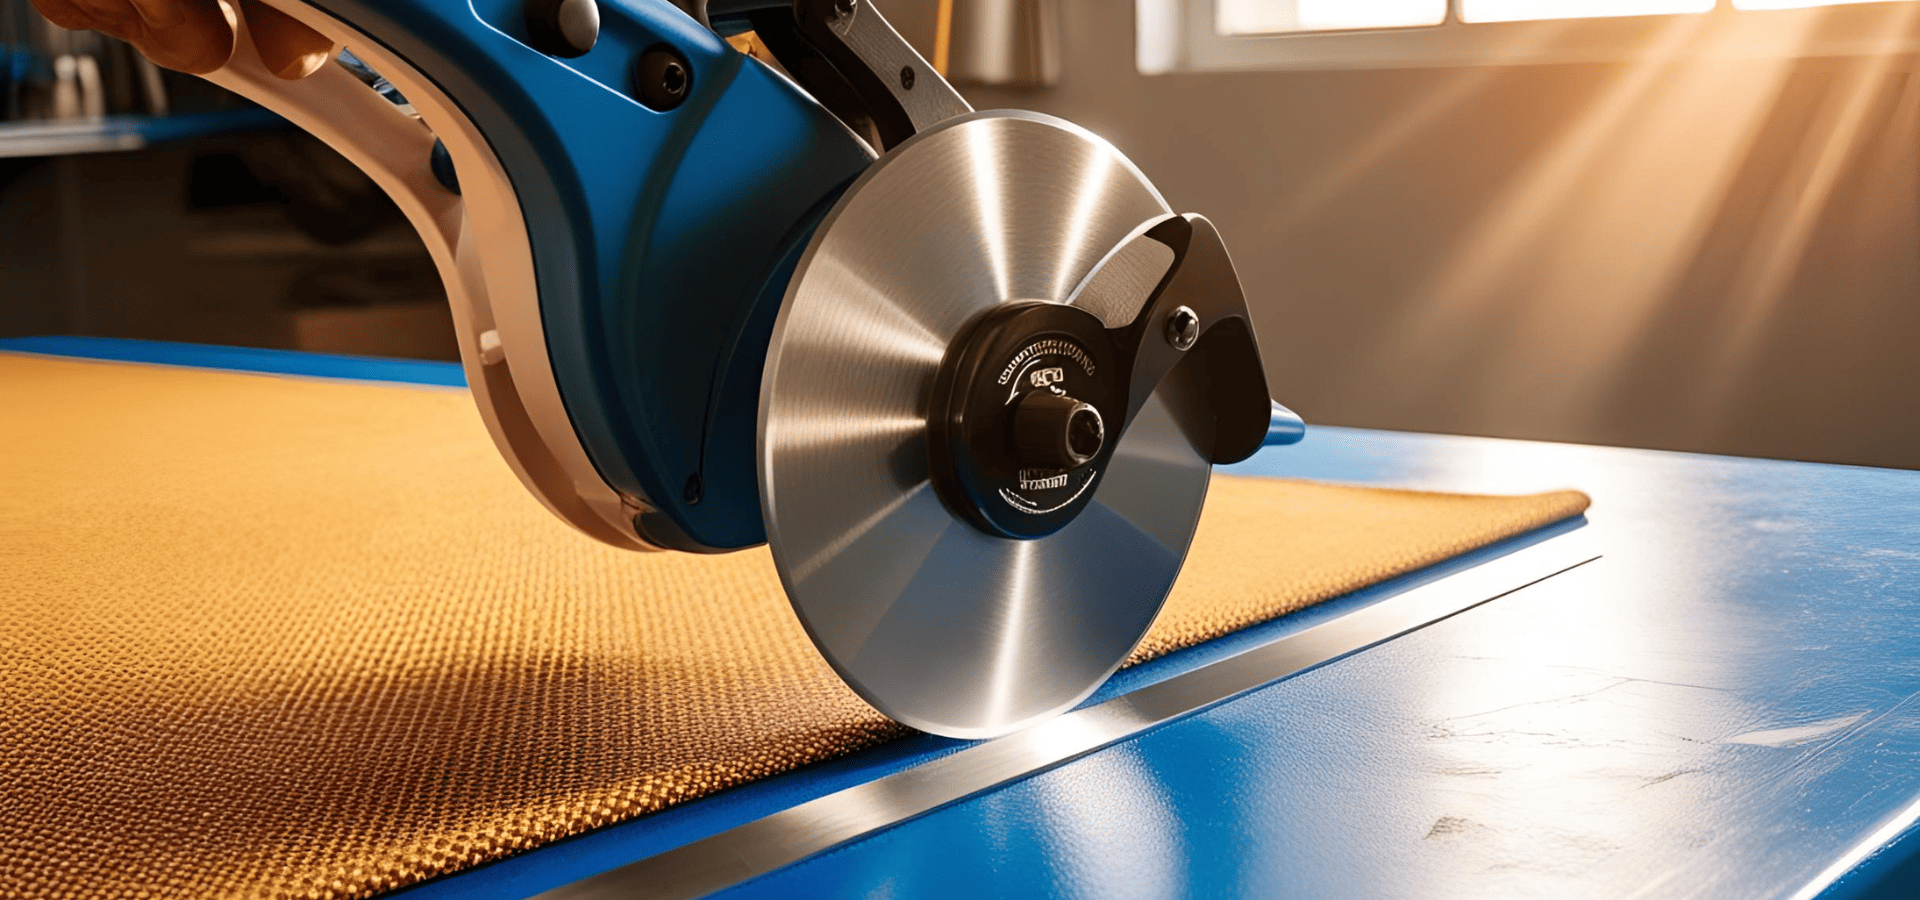
So you have a beautiful brand-new awning installed to perfection. It shelters you from the rain and looks sleek as heck. Well, without maintenance, it won’t stay that way for long. Awning maintenance isn’t just about aesthetics either. Without proper maintenance, many issues can arise such as rusting, mechanic malfunctions, and water damage. So if you’re wondering how to maintain your awning and keep it in tip-top condition, you’re in the right place. Let’s get started. What’s Hurting Your Awning? First off, let’s go over what exactly it is that you’re safeguarding your awning against. Your awning shelters you from the elements. This means aside from the hot, scorching sun shining down on it constantly, it’s also exposed to heavy rain. No matter how durable an awning is, being exposed to constant heat and sunlight can cause colour deterioration and the material itself to break down over time. The rain can also moisture damage or permanent moisture stains and rust. There may also be bird droppings, and if you don’t clean them off, they may become permanent stains. Over time, these can combine to wear your awning out quickly if you don’t take the appropriate measures and perform the due maintenance. As such, to prevent unnecessary repair and replacement costs, make sure to diligently perform the required maintenance. Now, let’s go over which types of awnings need more maintenance and which ones don’t. Which Awnings Need Maintenance? All awnings require maintenance. However, most awnings actually don’t require much more maintenance besides the occasional clean with water or a detergent solution. You should also check the structure to see if bolts and fasteners come loose over time, but aside from that, there’s minimal maintenance for most awnings. These include glass, polycarbonate, and aluminium composite. The two main types of awnings that require more frequent and tedious maintenance are metal and fabric. Fabric is the softest awning material and also the least durable one, so it should come as no surprise that it’s also the one that requires the most maintenance and regular checks. Metal, on the other hand, is generally quite a robust material. However, it can dent and rust easily, so regular checks are needed and any issues need to be fixed quickly before they get worse. So if your awning isn’t either fabric or metal, your primary maintenance tasks will be to check the structural integrity and to clean your awning. Awning Protection Prevention is the best cure, so we’ll first be going over how to lower the chances of those issues happening. For fabric, to prevent moisture damage, you can apply a layer of water-repellent protectant to create a layer that prevents water from reaching your fabric. This layer will also help your fabric better withstand UV rays. For metal, similarly, you can apply a corrosion-resistant coating or sealant that will help your metal awning resist rust and corrosion and keep water out. If your awning is flat, water may also pool up, which isn’t ideal. To prevent this, you can consider installing a rain gutter along the edges of the structure to help drain water and prevent it from staying on your awning, reducing the risks of moisture damage as well as mould and mildew. Regular Maintenance Tasks Besides cleaning, the maintenance for awnings, including low-maintenance ones like glass and polycarbonate, is mainly about checking for damages and repairing them. So regardless of your awning material, check regularly for cracks, chips, etc, and fix them quickly when you spot them. Otherwise, a crack may lead to a big hole, and a chip may lead to bigger parts breaking off. For metal and fabric, the only additional maintenance task you’ll need to perform is really monitoring the protective coating or sealant and reapplying them when they wear off or are compromised. Manufacturers will generally have a guide on how often the coating or sealant should be reapplied to maintain its integrity, but damages can happen before that, so you need to know how to spot these damages to know when to reapply the coating or sealant. Here’s how to know that your coating or sealant has been compromised and needs reapplication. Metal